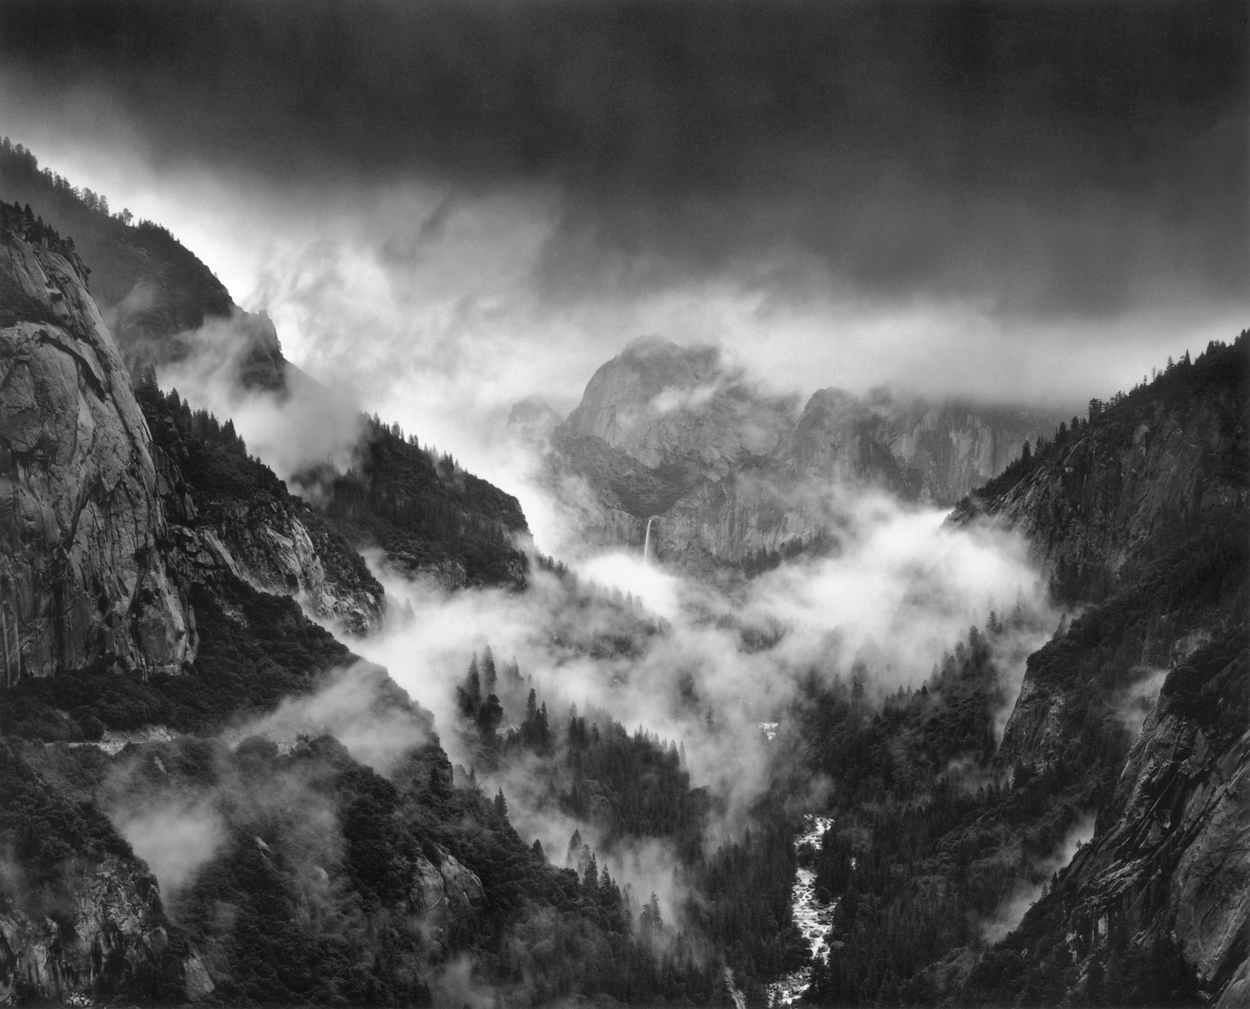
How To See Like A Photographer
One of the things I enjoy most about being a photographer is the opportunity to share the knowledge and experience I’ve gained during my 40+-year career looking through the lens. I consider teaching both a privilege and a responsibility, and I do a lot of it. Something I get asked to address in nearly all…


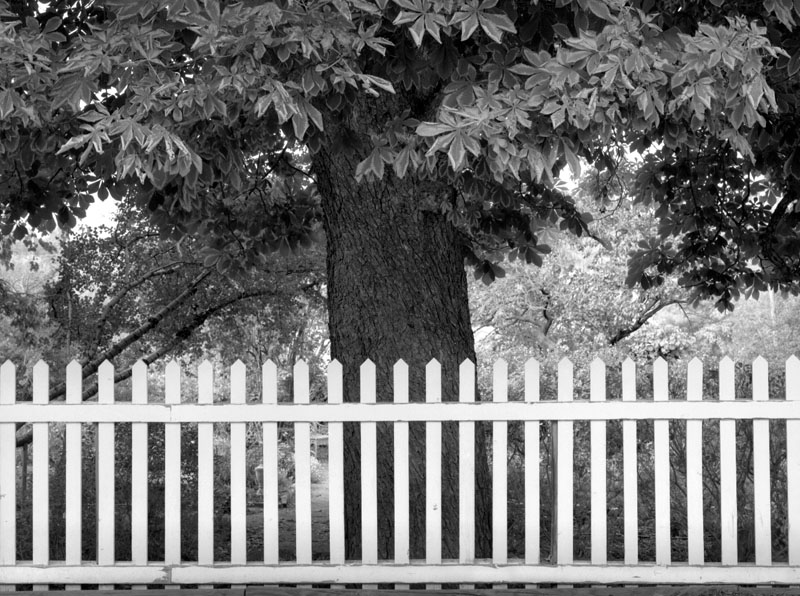
The Polarizing Filter – You Can’t Mimic It In Photoshop!
A polarizing filter is one of the few filters that are equally effective with color imaging and with black-and-white. It can: • Minimize or eliminate reflections in glass, water or most any surface except metal. • Darken skies in color photos as well as in black-and-white • Cut through haze • Increase the saturation of…
Read More